Important Notice:
Please note that these instructions serve as general guidance only. Avoro Design strongly advises professional installation.
Avoro Design will not accept responsibility or liability for any damage, loss, or issues arising from following these guidelines.
If you are not experienced or confident with installation procedures, we highly recommend consulting a professional installer.



FRONT SPLITTER
1. With assistance from another person, carefully lift the splitter into position against the bumper. Ensure both ends line up evenly with the bumper edges.
2. Once alignment is confirmed, temporarily secure the splitter in position using masking tape or similar adhesive tape to prevent movement during installation.
3. Drill carefully through the splitter and into the underside of the bumper. Take your time to avoid mistakes and ensure precise hole placement.
4. Attach the splitter firmly to the bumper using appropriate fixings. Typically, self-tapping screws or bolts with nuts are recommended. We suggest a minimum of six fixings per side and two fixings in the central area to ensure maximum stability.
5. Double-check all fixings are tight and secure. Once satisfied, you're ready to hit the road and enjoy your vehicle’s enhanced appearance!
Recheck after your initial journeys to ensure continued safety and adhesion.
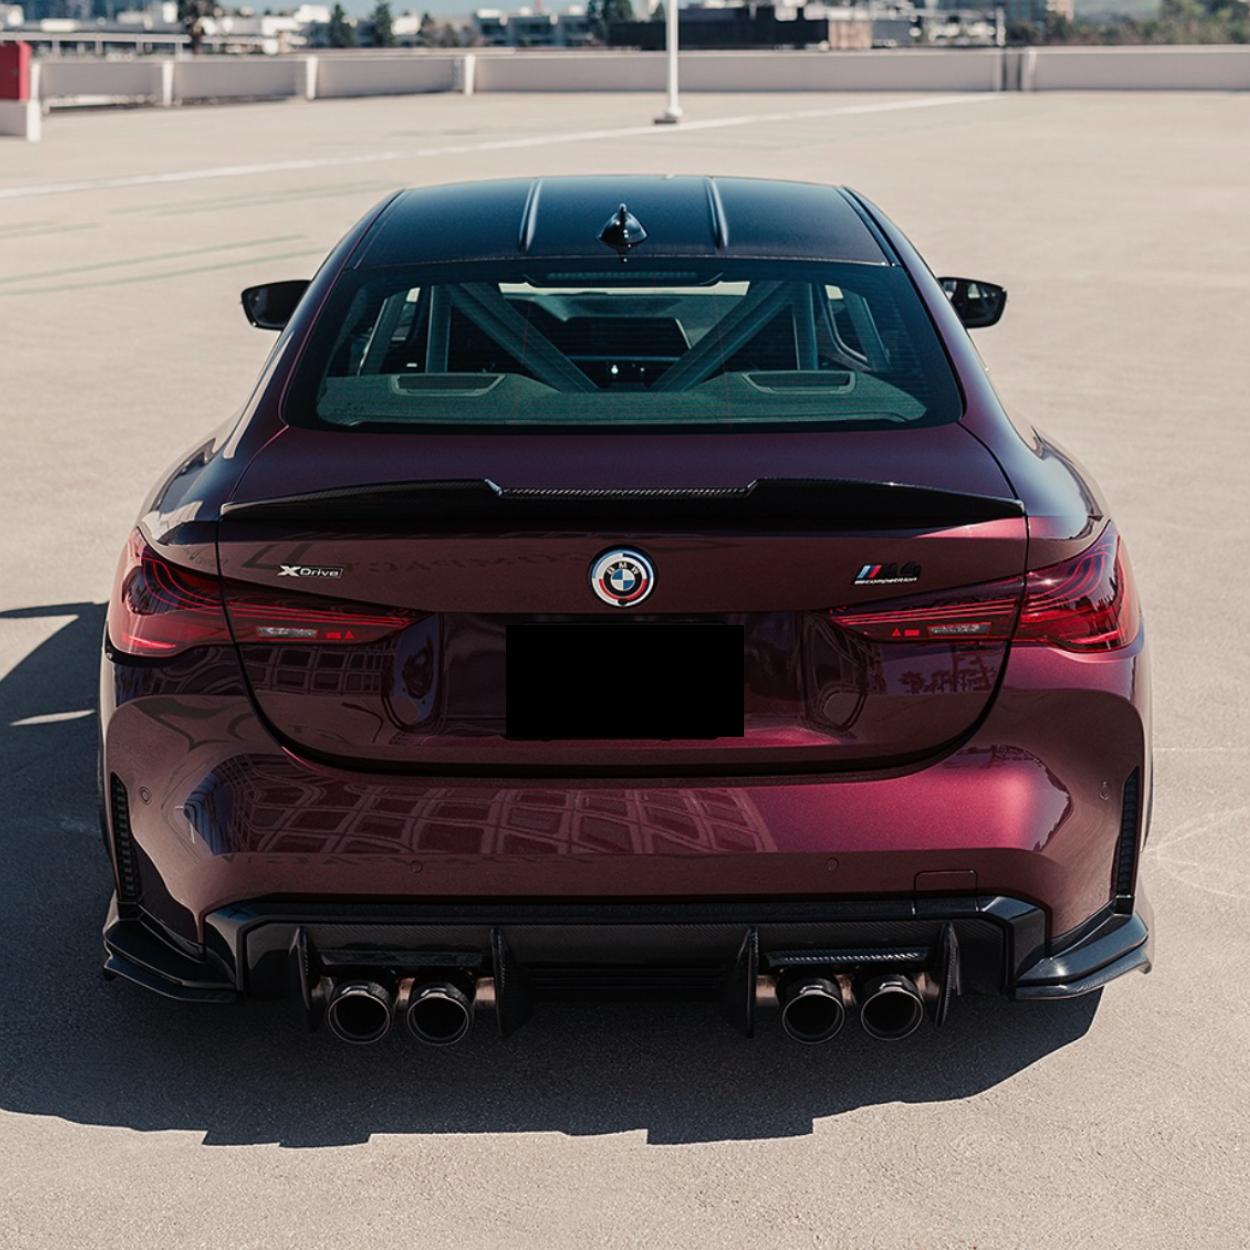

REAR SPOILER
1. Begin by positioning the spoiler onto your vehicle for an initial trial fit.
2. Once you're satisfied with the spoiler's alignment, outline its edges on your car using masking tape. This will serve as your installation guide.
3. Thoroughly clean and degrease both the installation area on your vehicle and the underside of the spoiler to ensure optimal adhesion.
4. Attach double-sided automotive adhesive tape securely to the underside of the spoiler. We also recommend a small amount of bonding glue for a secure fitment.
5. Peel back approximately 2-3 cm of the adhesive tape backing at the edges, leaving it accessible.
6. Carefully align the spoiler with your previously taped template.
7. Slowly remove the remaining adhesive backing while gently applying consistent pressure to secure the spoiler in place.
8. Firmly press down from above along the entire length of the spoiler to guarantee a strong and even bond.
9. Using a heat gun at a safe distance, gently warm the spoiler to enhance adhesive bonding. Avoid excessive heat to prevent damage to the spoiler or vehicle paintwork.
10. Finally, inspect thoroughly to confirm the spoiler is securely fitted and leave to set for 4-6 hours before driving.
Recheck after your initial journeys to ensure continued safety and secure fitment.

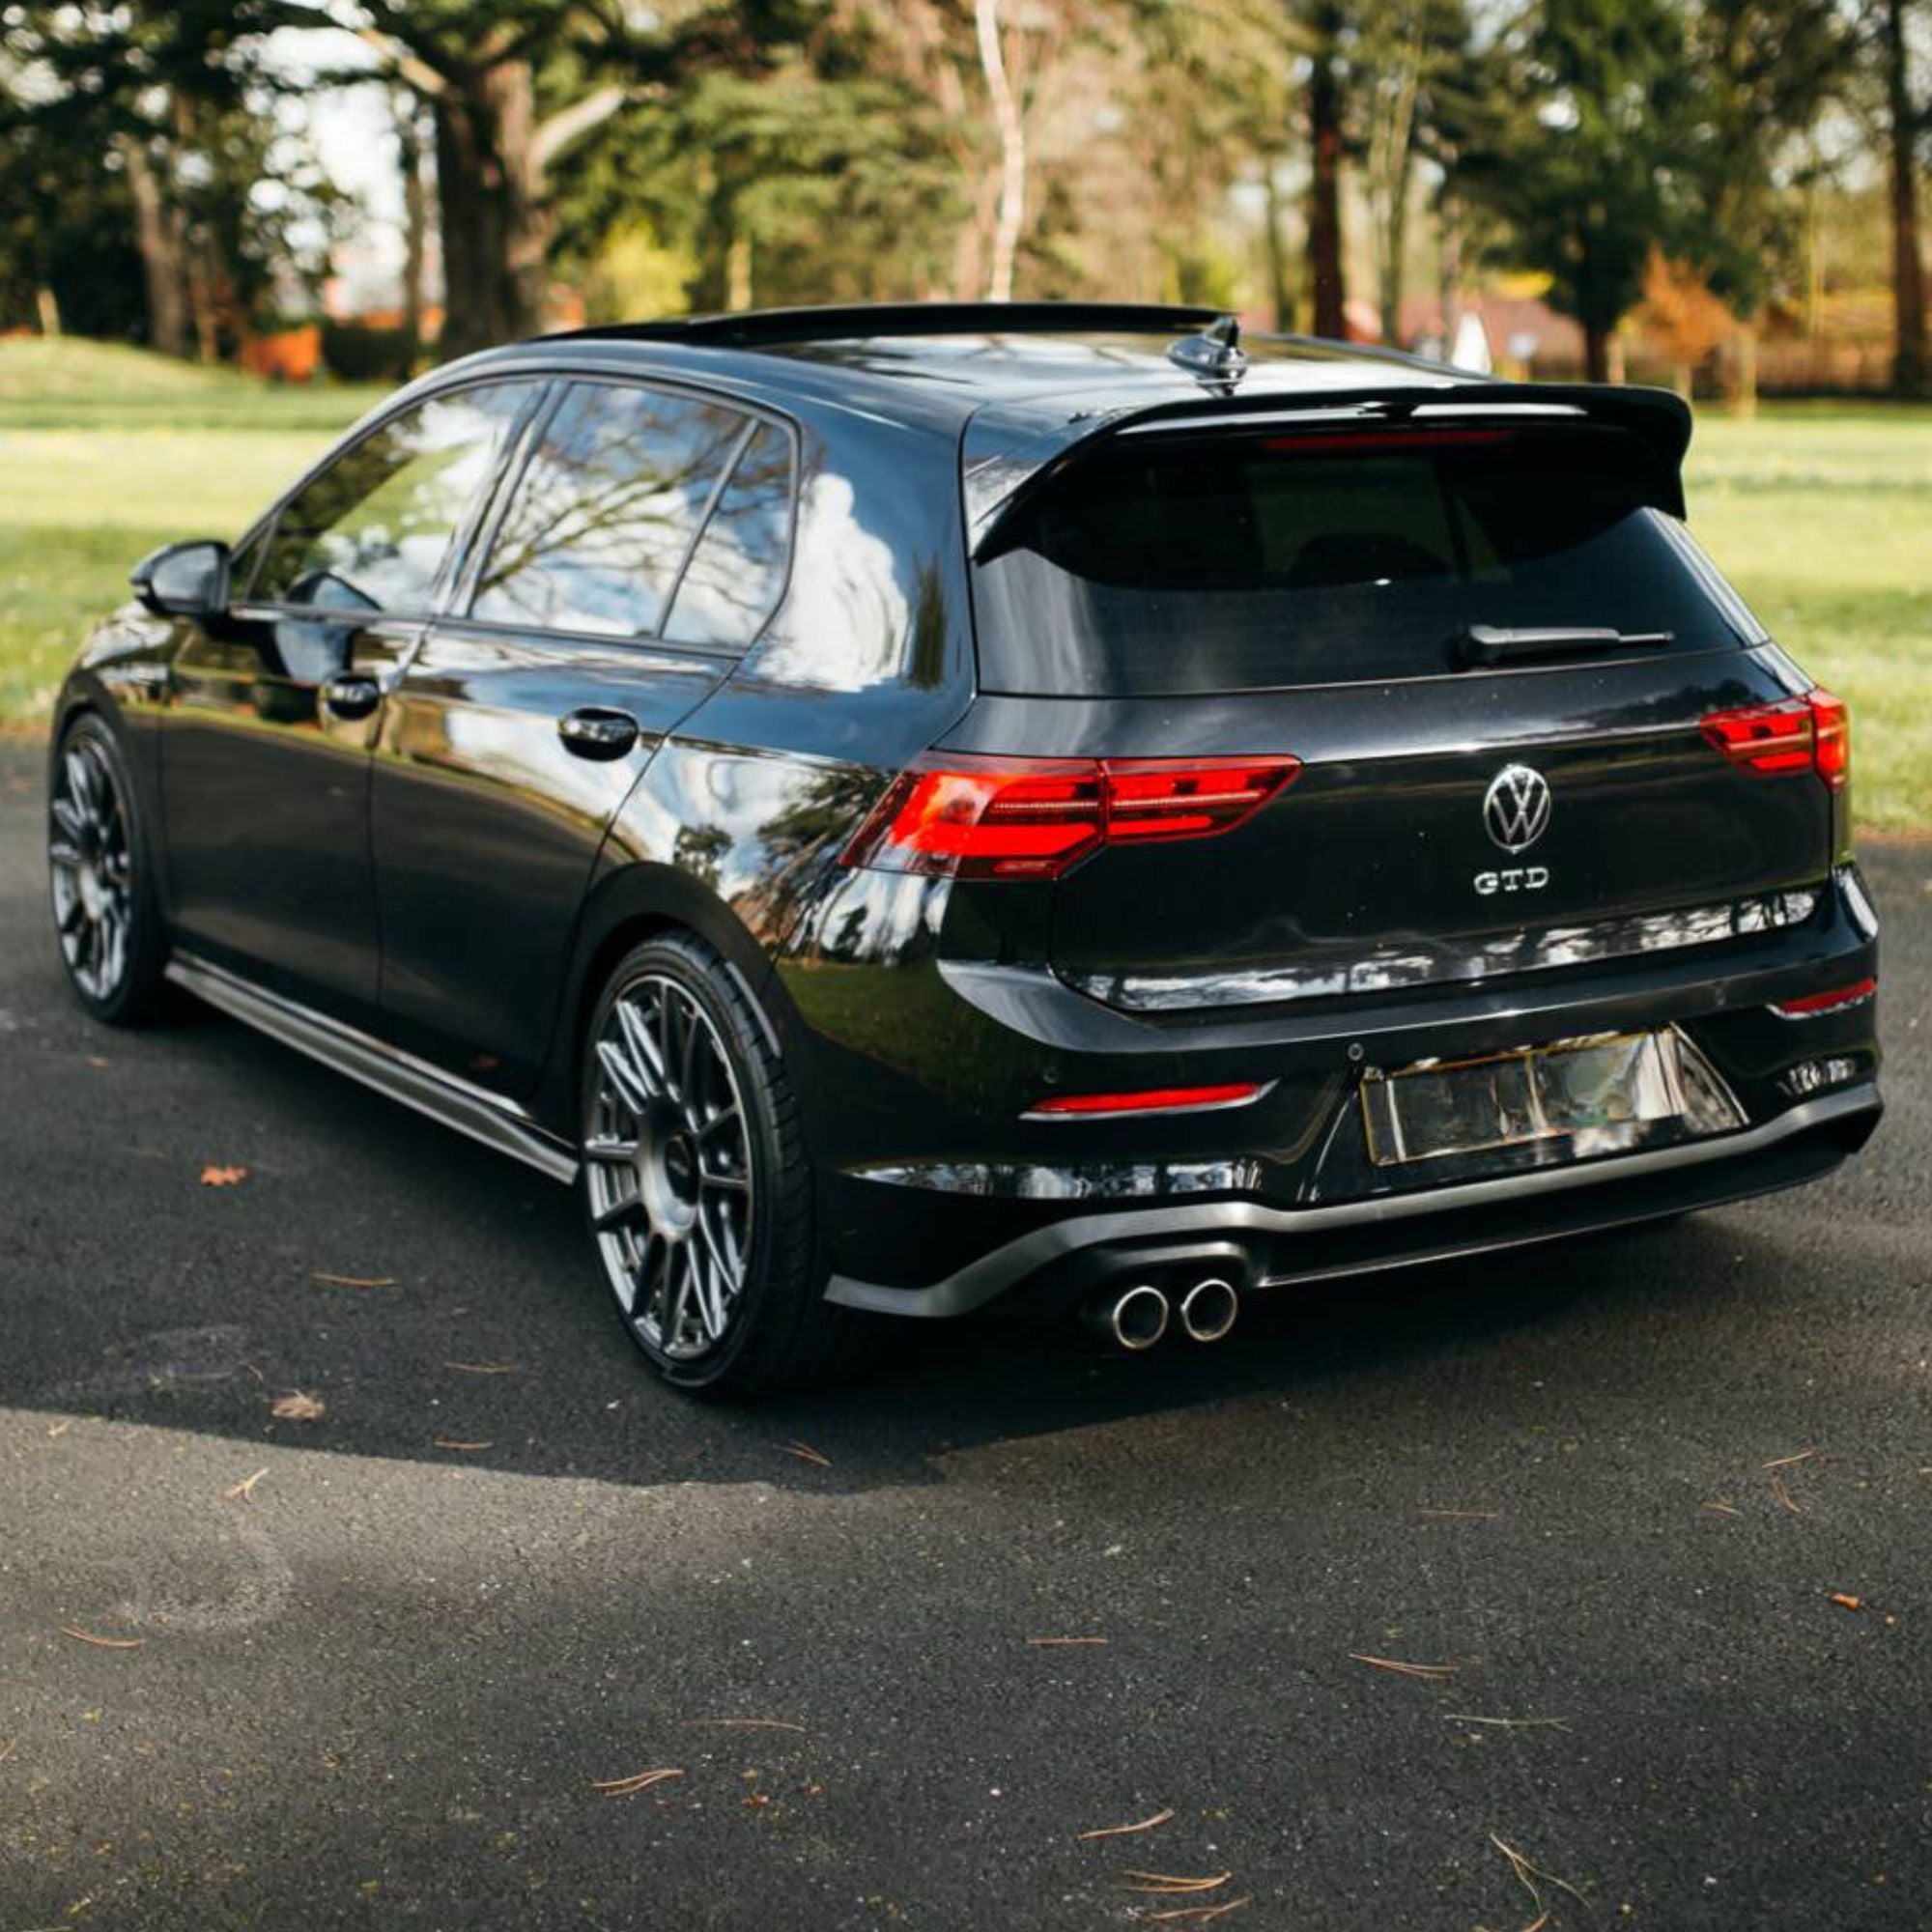
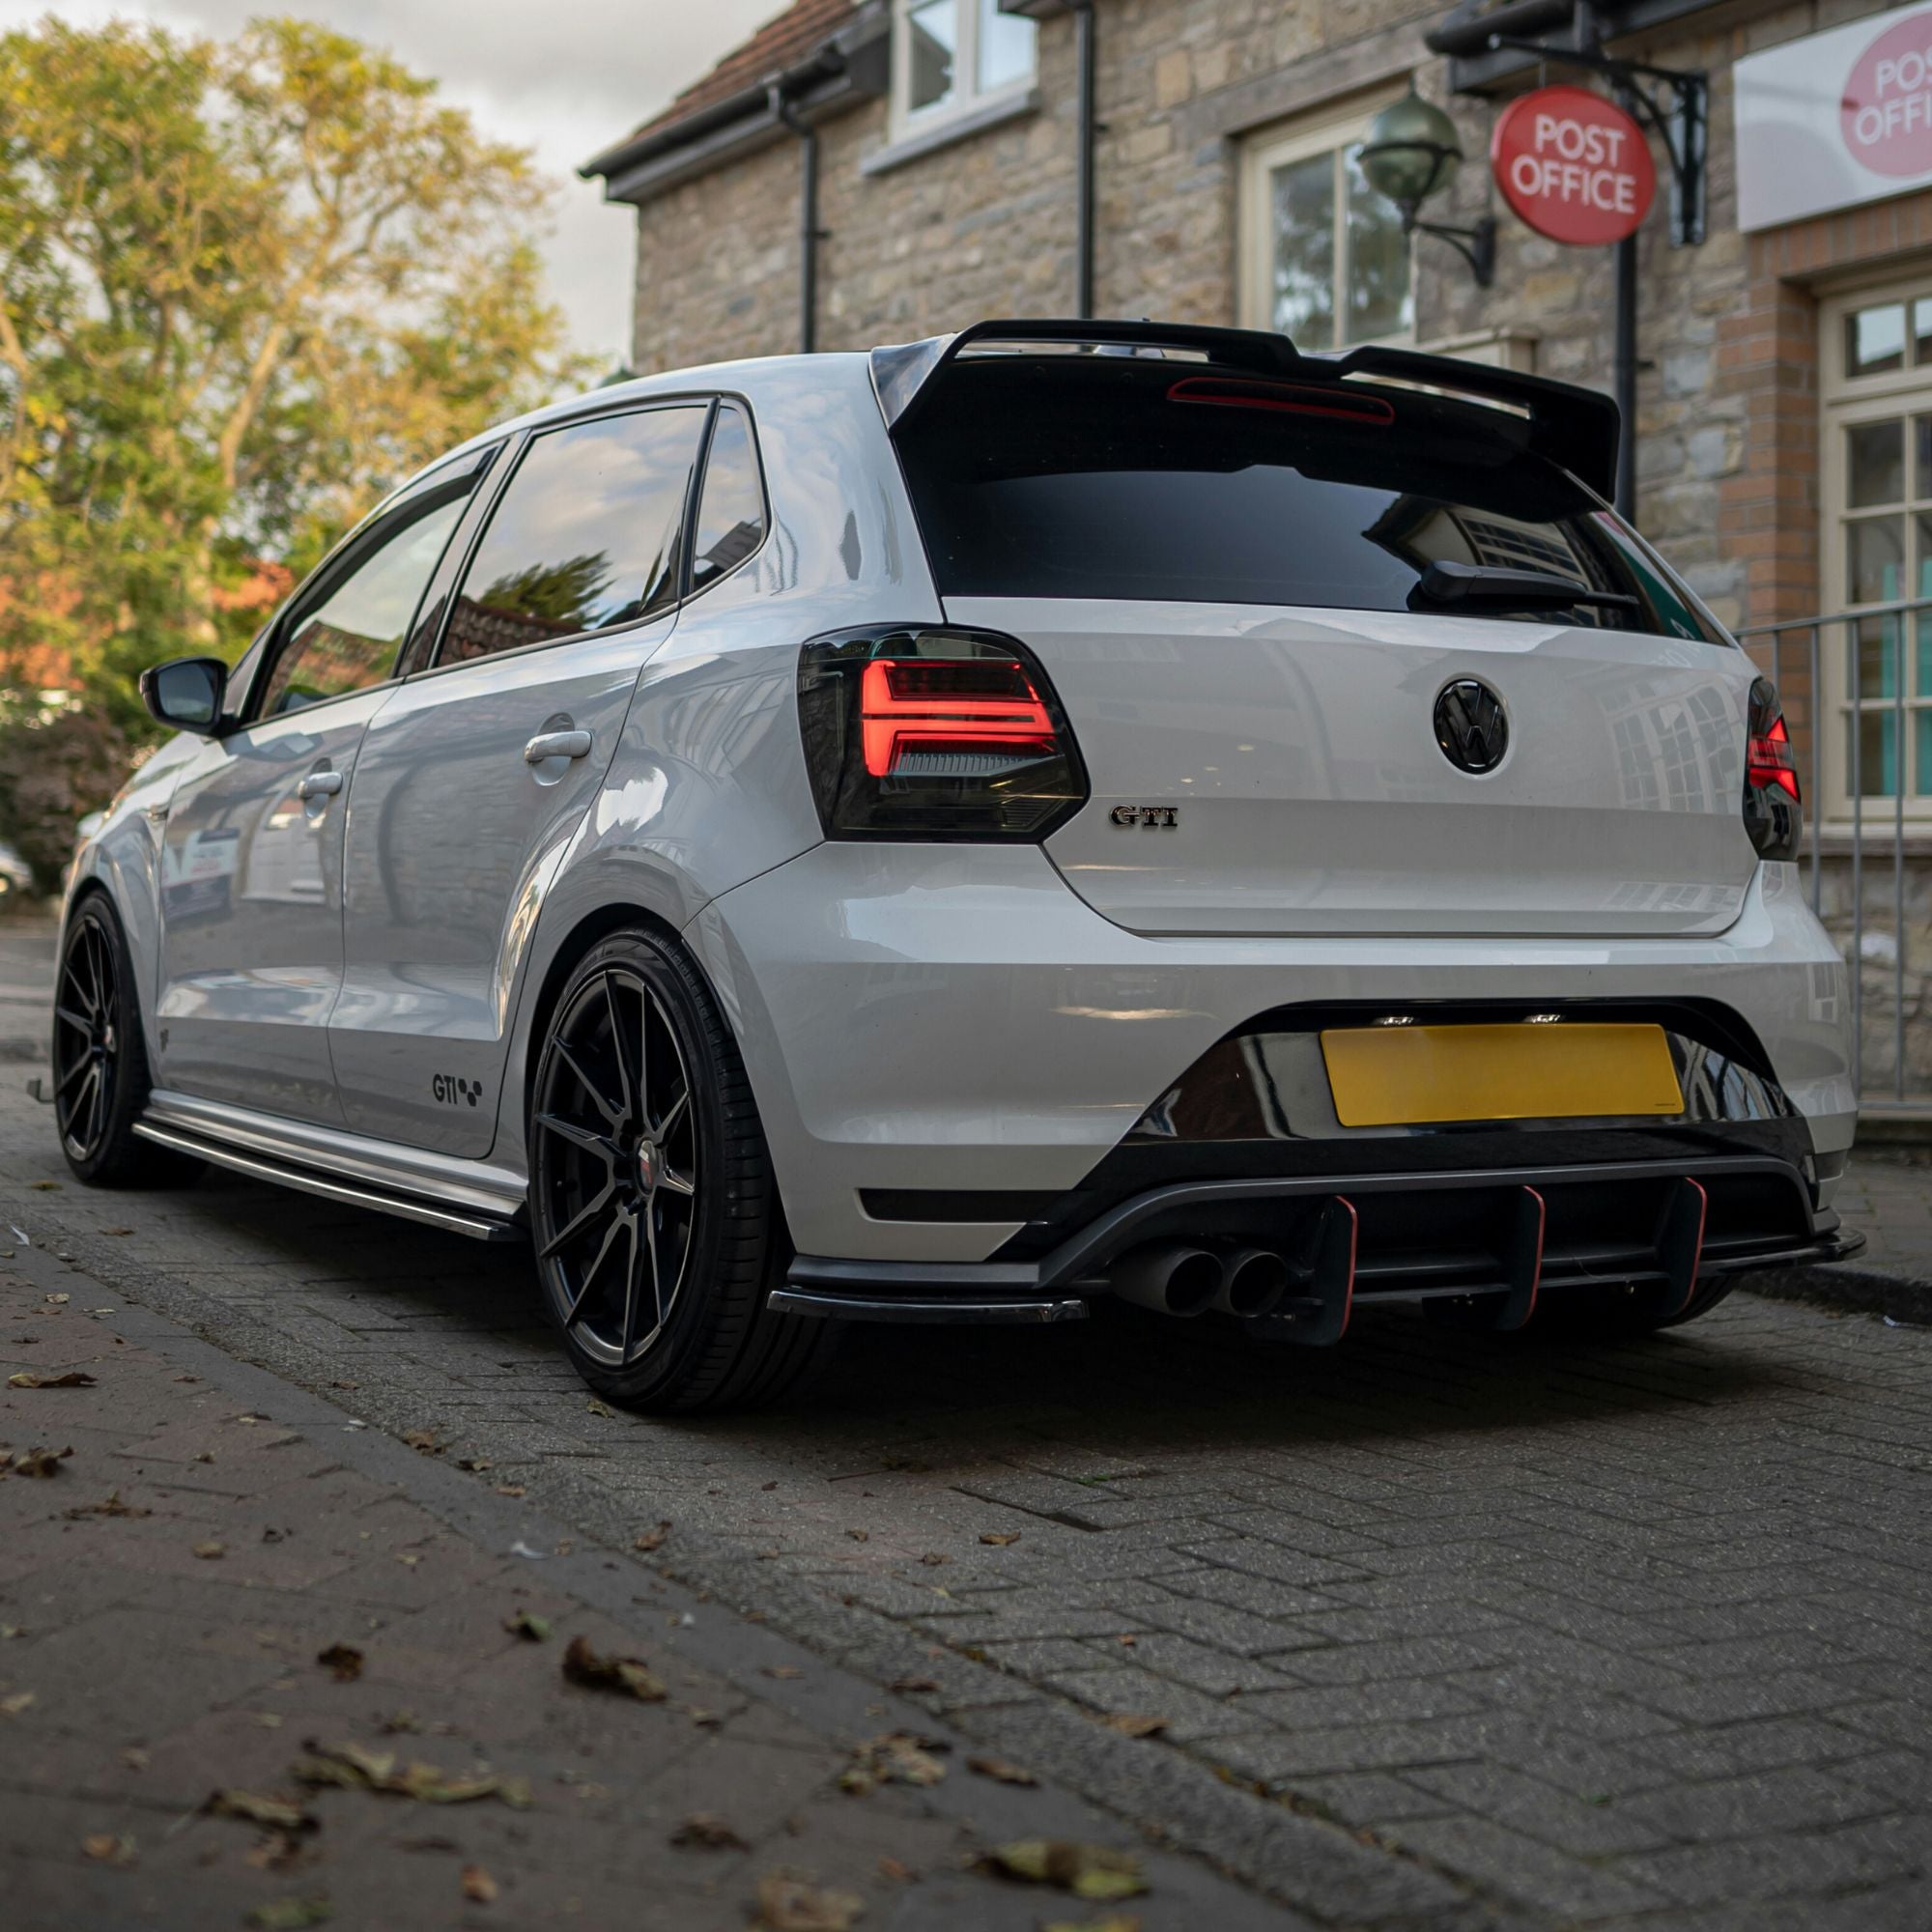
SIDE SKIRTS
1. Carefully position the side skirt against your vehicle for a test fitting. Adjust its alignment until you're satisfied with its placement.
2. Once correctly aligned, use masking tape to hold the skirt securely in place temporarily.
3. Securely attach the side skirt to your car by drilling and using self-tapping screws. For optimal stability, we suggest installing at least 6 screws per side.
4. Double-check all fittings are securely tightened.
5. Once completed, step back and enjoy your car’s stylish new upgrade!
Recheck after your initial journeys to ensure continued safety and secure fitment.

